Tutorial: Database Change with Risk-Based Approval Flow
Overview
Custom Approval allows you to create multi-stage approval workflows based on change risk levels. Each database change can require approvals from specific roles before proceeding to rollout.How It Works
Approval Flow Structure
An approval flow consists of one or more approval nodes arranged in sequence:- Each node specifies a role (e.g.,
Project Owner,DBA, or custom role) - Any member with that role can approve the node
- All nodes must be approved before the issue proceeds to rollout
After approval, the actual deployment may still require manual action depending on your rollout policy configuration.
Setting Up Custom Approval
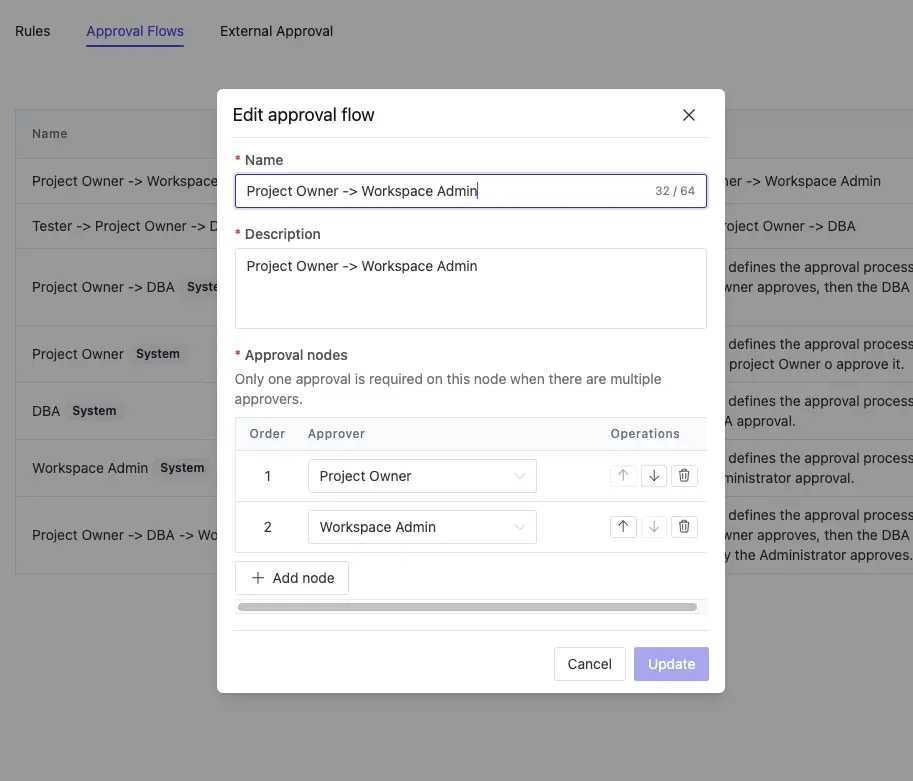
Step 1: Create Approval Flows
- Navigate to Settings > Custom Approval
- Click the Approval Flows tab
- Create or edit an approval flow
- Add approval nodes with required roles
Step 2: Assign Flows to Risk Levels
- Click the Rules tab
- Select an approval flow for each risk level
- Choose “Skip manual approval” if no approval is needed for a specific risk level
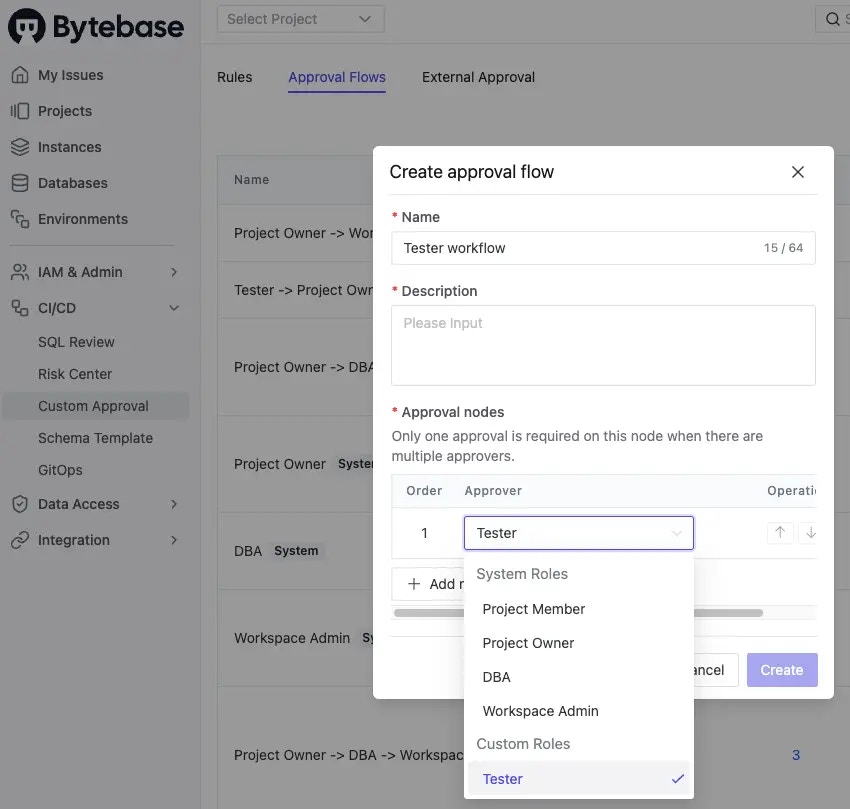
Working with Custom Roles
When built-in roles don’t match your approval requirements, you can create custom roles with specific permissions. Example use cases:- Create a
Testerrole for QA approval - Define a
Compliance Officerrole for regulatory review - Set up a
Release Managerrole for deployment coordination
Adding Custom Roles to Approval Flows
- First, create the custom role
- Navigate to CI/CD > Custom Approval
- Select the Approval Flows tab
- Edit your approval flow and add the custom role as an approval node
Approval Process
When an issue matches a configured risk level:- The issue enters the approval stage
- Designated approvers receive notifications
- Each approval node must be approved in sequence
- After all approvals, the issue proceeds based on rollout policy
- Changes are deployed automatically or manually as configured